Completing the Castration template
The Castration template required for submitting castration updates through Helical can be found on the AWA website under “Forms and Guides”.
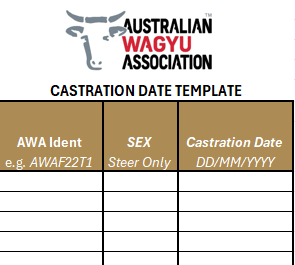
Within the Helical Castration template, you will find a basic template showing example data that demonstrates what is required in each column. All fields are mandatory.
You will find a form as per below:
Submitting your Castration template
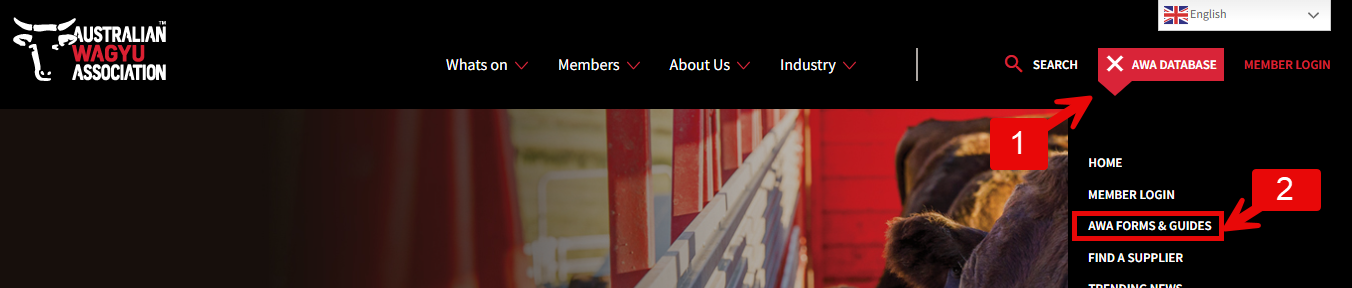
Via the AWA homepage, members can navigate to the helical website by clicking on “AWA DATABASE” and then “MEMBER LOGIN”.

Once you have logged into the Helical database, navigate to the “Import Data” tab in the left-hand sidebar.
Click the tile “Castration Submission Template”.

You should see a table like this:

You can add in a unique name for the import if you like. This name may help you remember what animal groups you have submitted already.

Loading the data
Select the “Load Data” button.

At the top of the Load Data box that appears, select the tab option for how you would like to upload Castrations – we currently have two options:
Option A – Copy Paste
Option B – Upload File
Option C – Select Animals
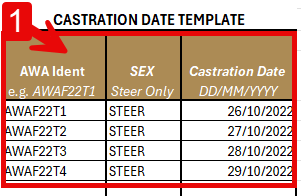
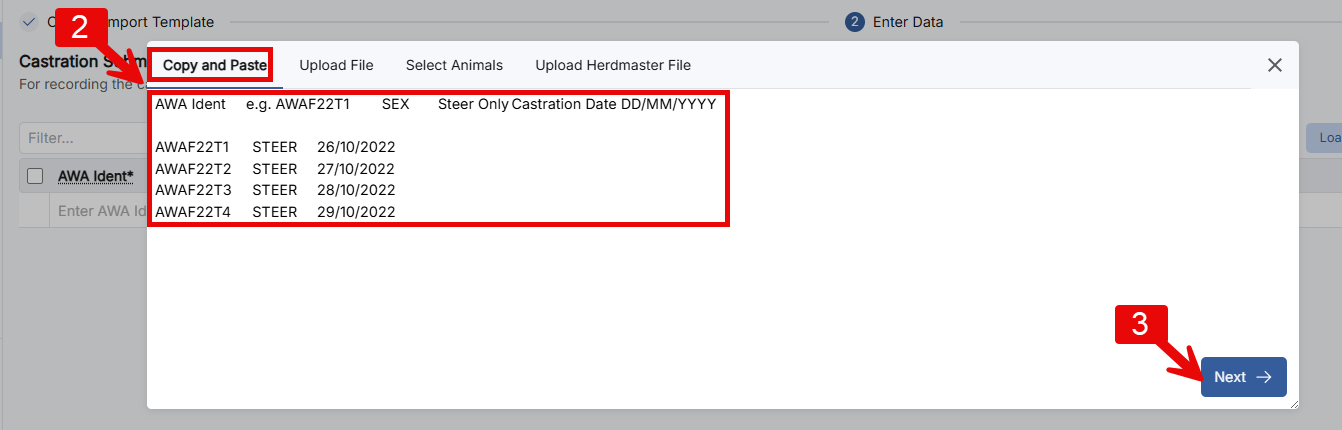
Option A – Copy Paste
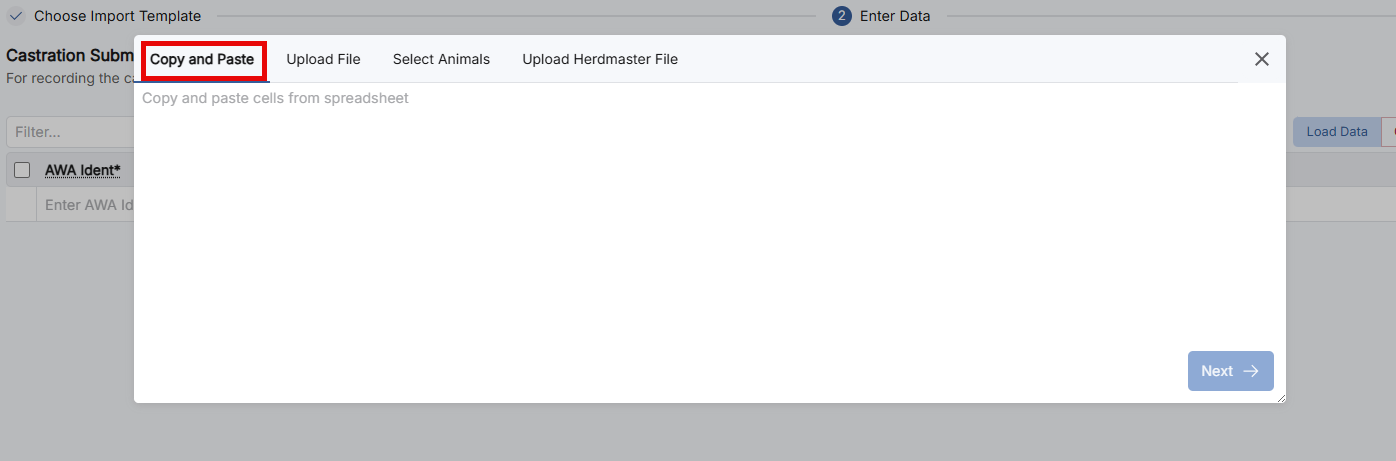
Copy and Paste – this is the most common way of submitting data for those using the Castration template. Select the information that you have input into the template, including the column headers, as highlighted in the box below, copy and then paste in the load data box, then select “Next”.
Option B – Upload file
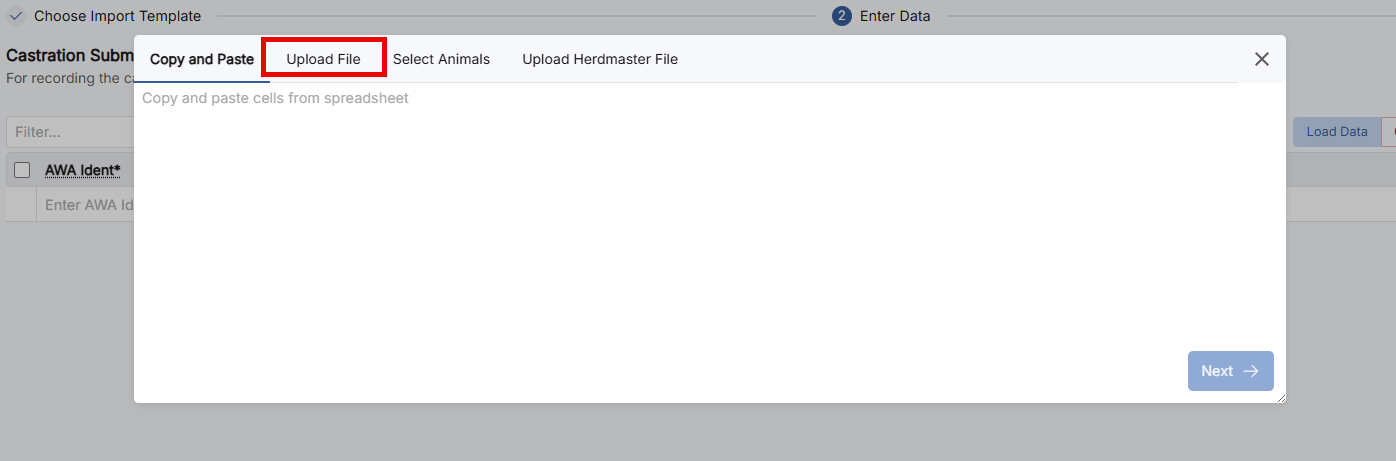
Upload file – this must be in .csv format and only with the column headers and information. It can either be dragged and dropped into the load data box, or you can click on the load data box to bring up your file browser to navigate to the file.
Option C – Select Animals
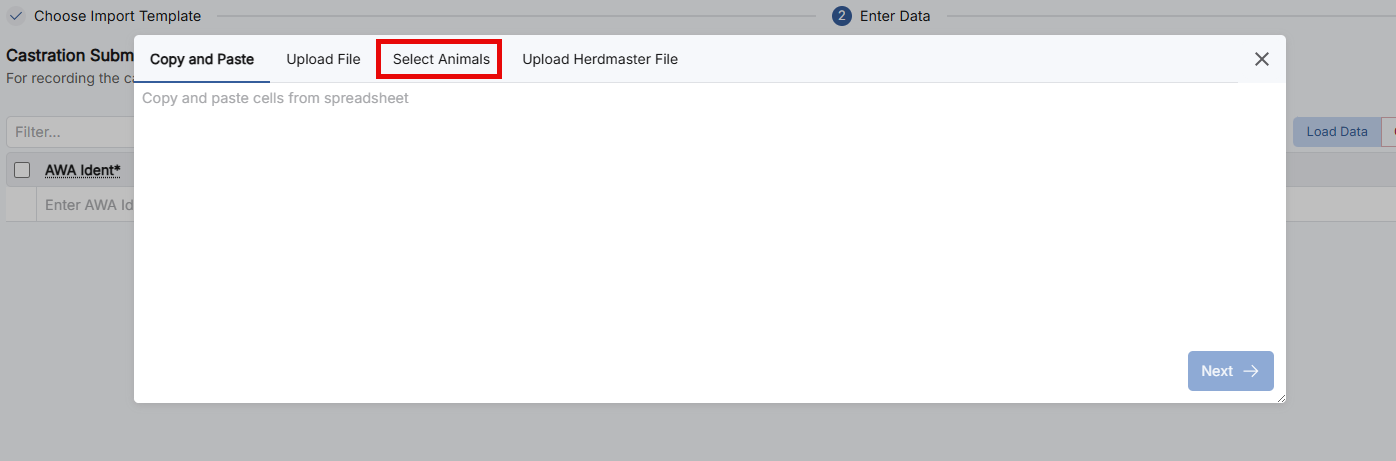
Select animals – this will allow you to manually select animals that are within your ownership and then manually add sex and castration date – good, if you only need to do a handful of animals, option A is best.
Once the data has been loaded in the data load box, you will have the option to confirm that the columns are allocated correctly. If no header row has been included with the information you will need to select which information each column corresponds to.
Once you are happy with the column allocation, select “Add Data”.

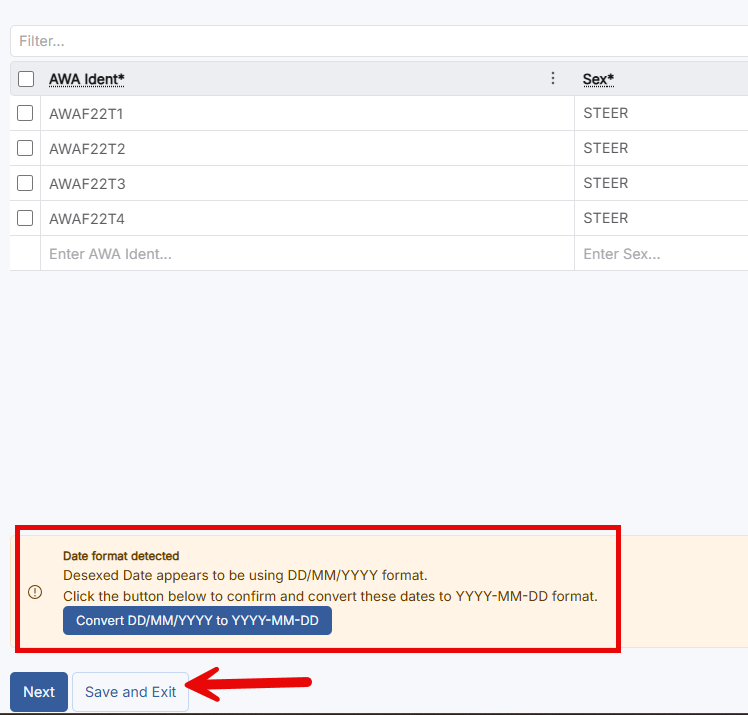
IMPORTANT HINT:
Please note that if there is information that needs to be amended and you need to come back to fixing it, you can click the “Save and Exit” button. If you do not press this and exit the castration template, it will not be automatically saved.
At this stage if there is anything potentially ambiguous (IE: date format), this will be flagged and can be amended.
Once happy with the data, click “Next”.
Summary Page
The final submission page will give you an overview of the data submitted in the import.
At this stage there will be a flag if the animal is not in your ownership or if it doesn’t exist on the database.
Once Submitted, please note that you will not be able to edit the request.
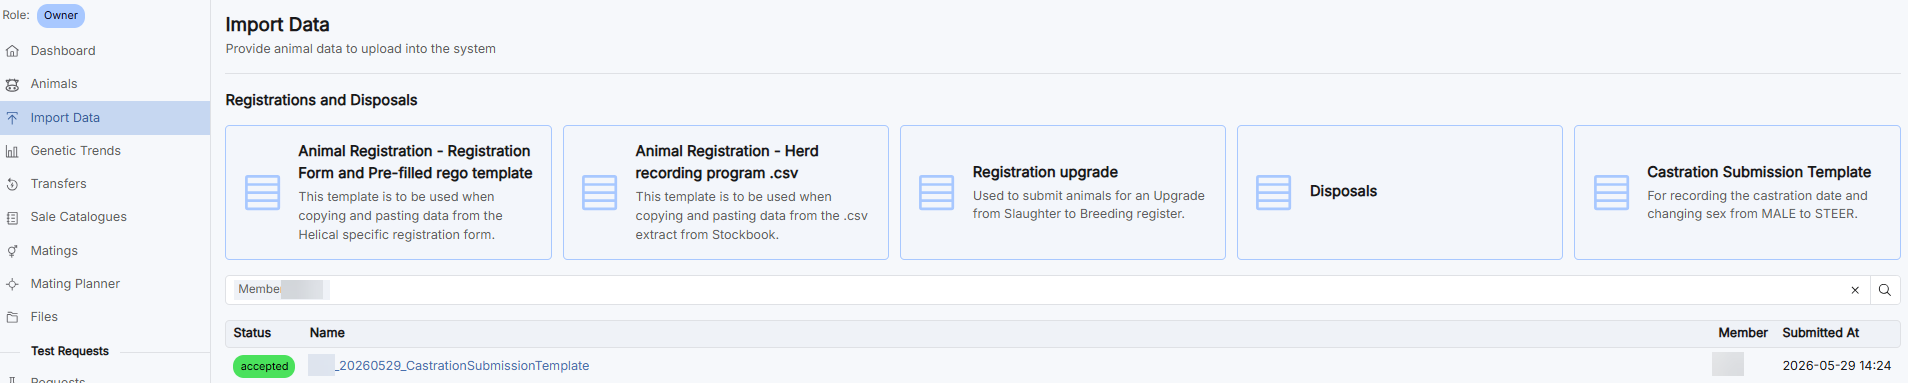
Once the castration template has been submitted it will be listed under your import data tab as “pending”. Once the MSO team has checked over your request and completed the submission you will see it says “accepted”.